Maximizing Your iPhone Photography: Recommended Settings and Example Photos

For a long time, I would only bring my iPhone on worldwide trips. It was light, convenient, and capable of taking incredible photos. In this post, I want to share some things I learned over the years to help you hopefully get some great images.
Let's start with the classic saying, "The best camera is the one you have with you." I will tell you this is very true. I've taken some of my favorite photos with an iPhone that is as old as an iPhone 10. Currently, I have an iPhone 15, but most of the photos I'll share in this post have been taken with the iPhone 12 Pro with the default camera app (My favorite app, by the way).
Camera Settings
Let's dive into a few settings you might consider changing to improve that photography game. First, let's get you to the place to find the camera settings.
Search for settings in the menu bar, and about halfway down on the main page, you'll see the camera icon.


once we reach this point, we're cooking, and the fun begins. On the main camera settings page, you'll see many things I won't be covering in this post. Mainly the video settings, maybe in a future write-up, but let's focus on the photography side of things for now.
Let's go into Formats first and take a look at what might be the most important part besides the actual photos being taken. We have Camera Capture; I leave this set to High Efficiency because I mainly shoot ProRAW, so this doesn't matter. On the photo mode setting, I will turn this to 24MP; anything taken on the 1x or the 24MM camera will be saved at 24MP or about 3MB when not taken with the RAW button turned on. It's a smaller file, and I will use it to capture random moments I don't plan to edit later.

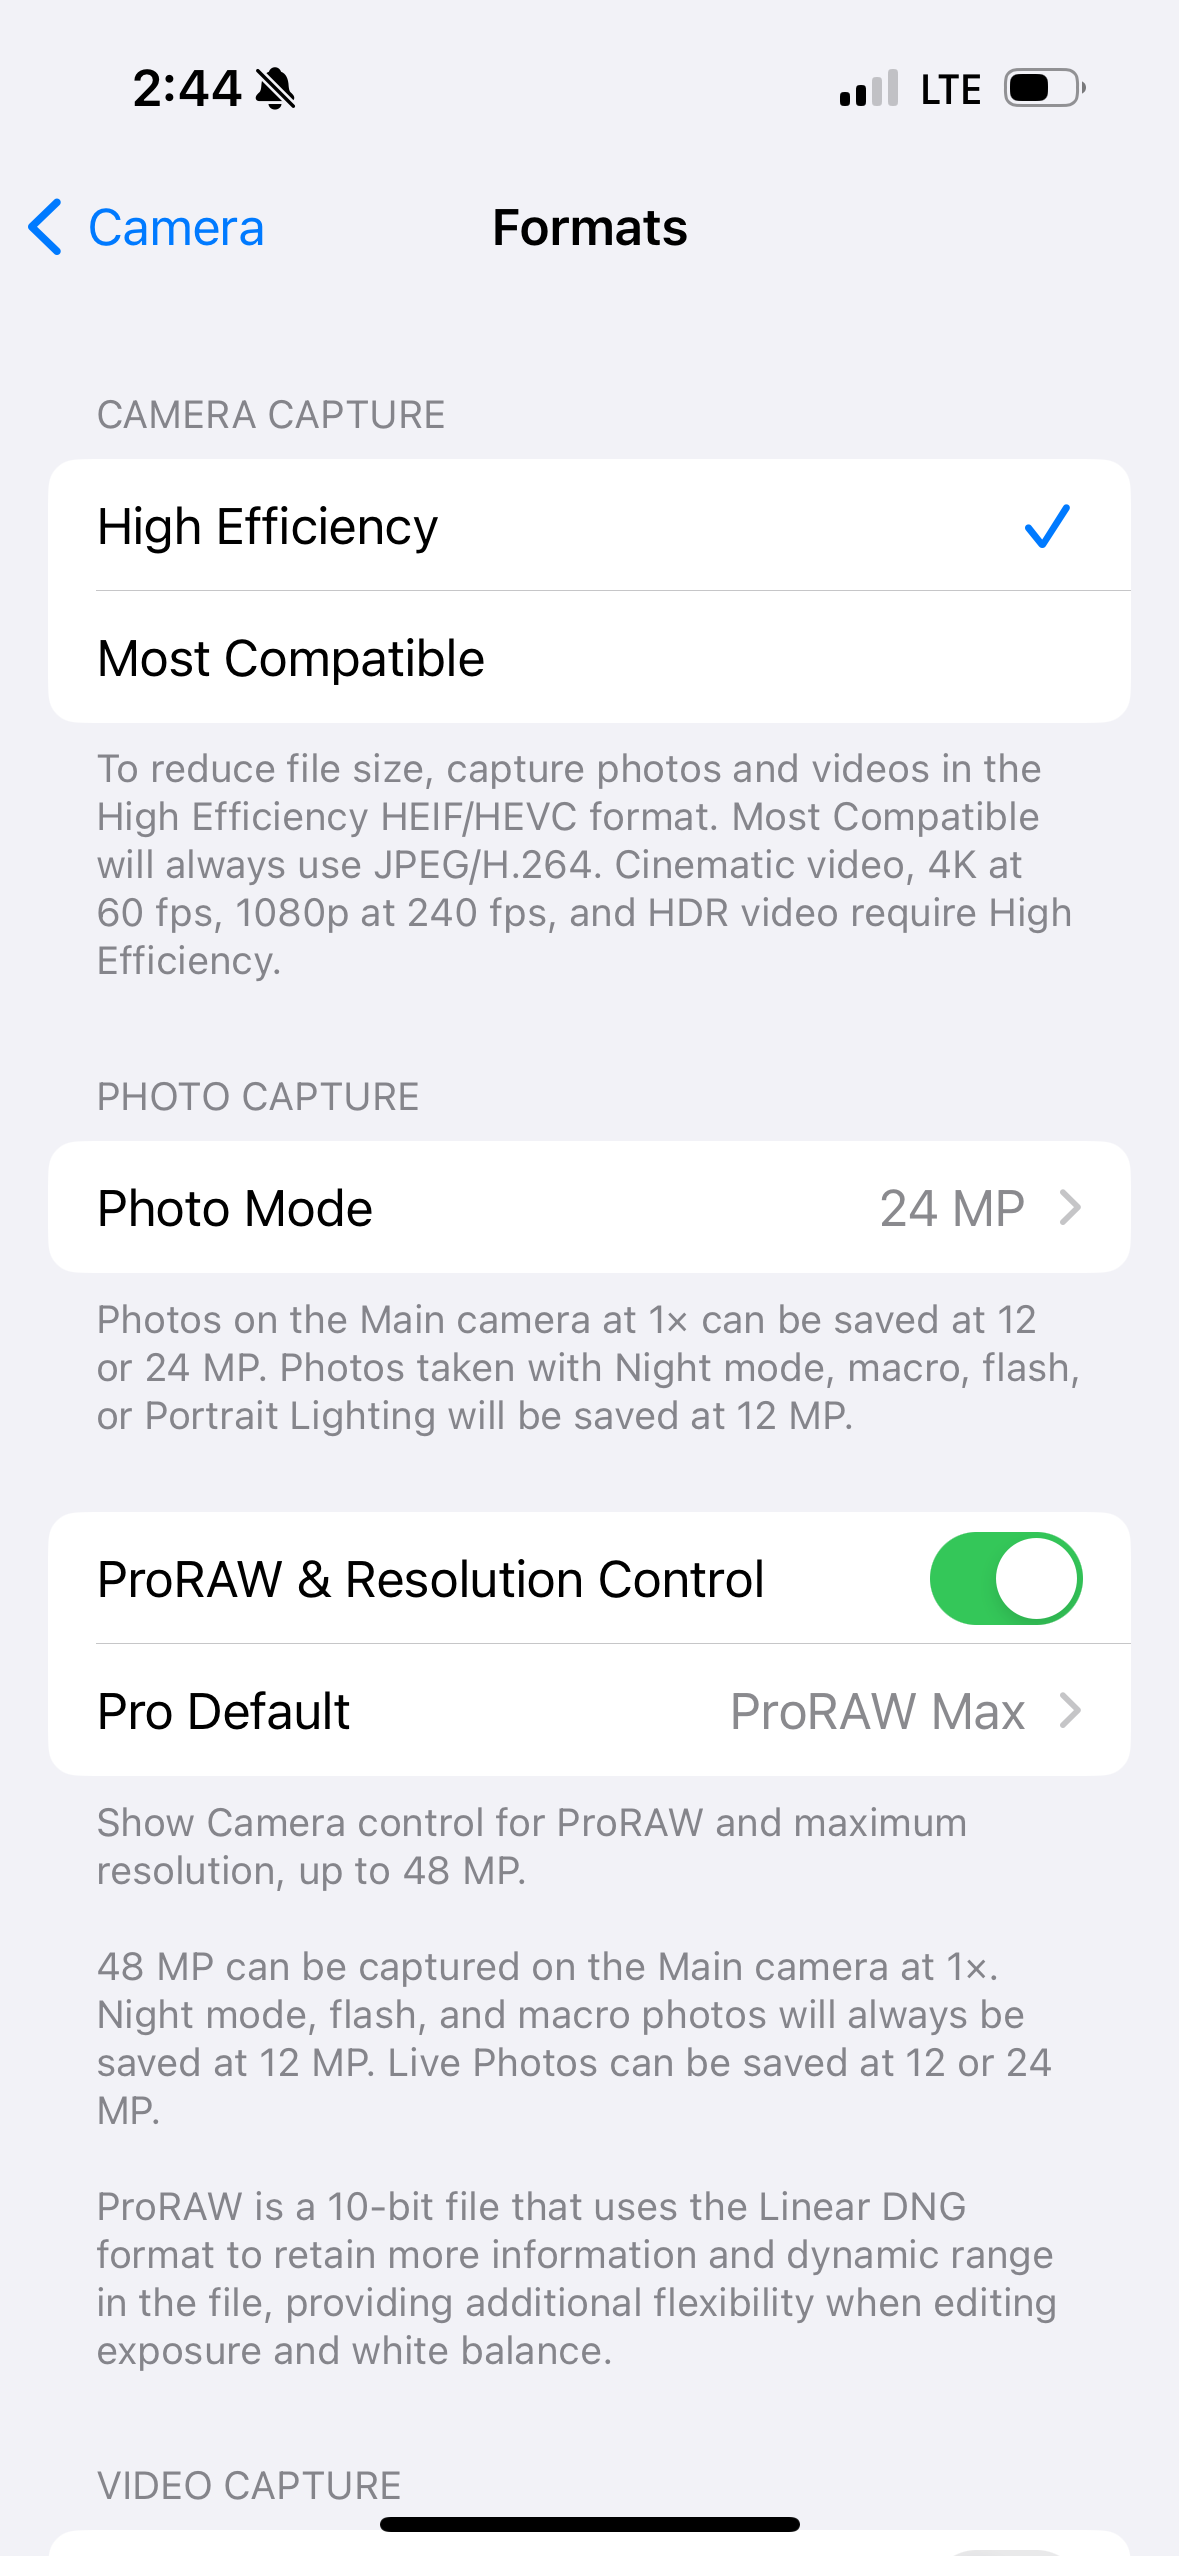
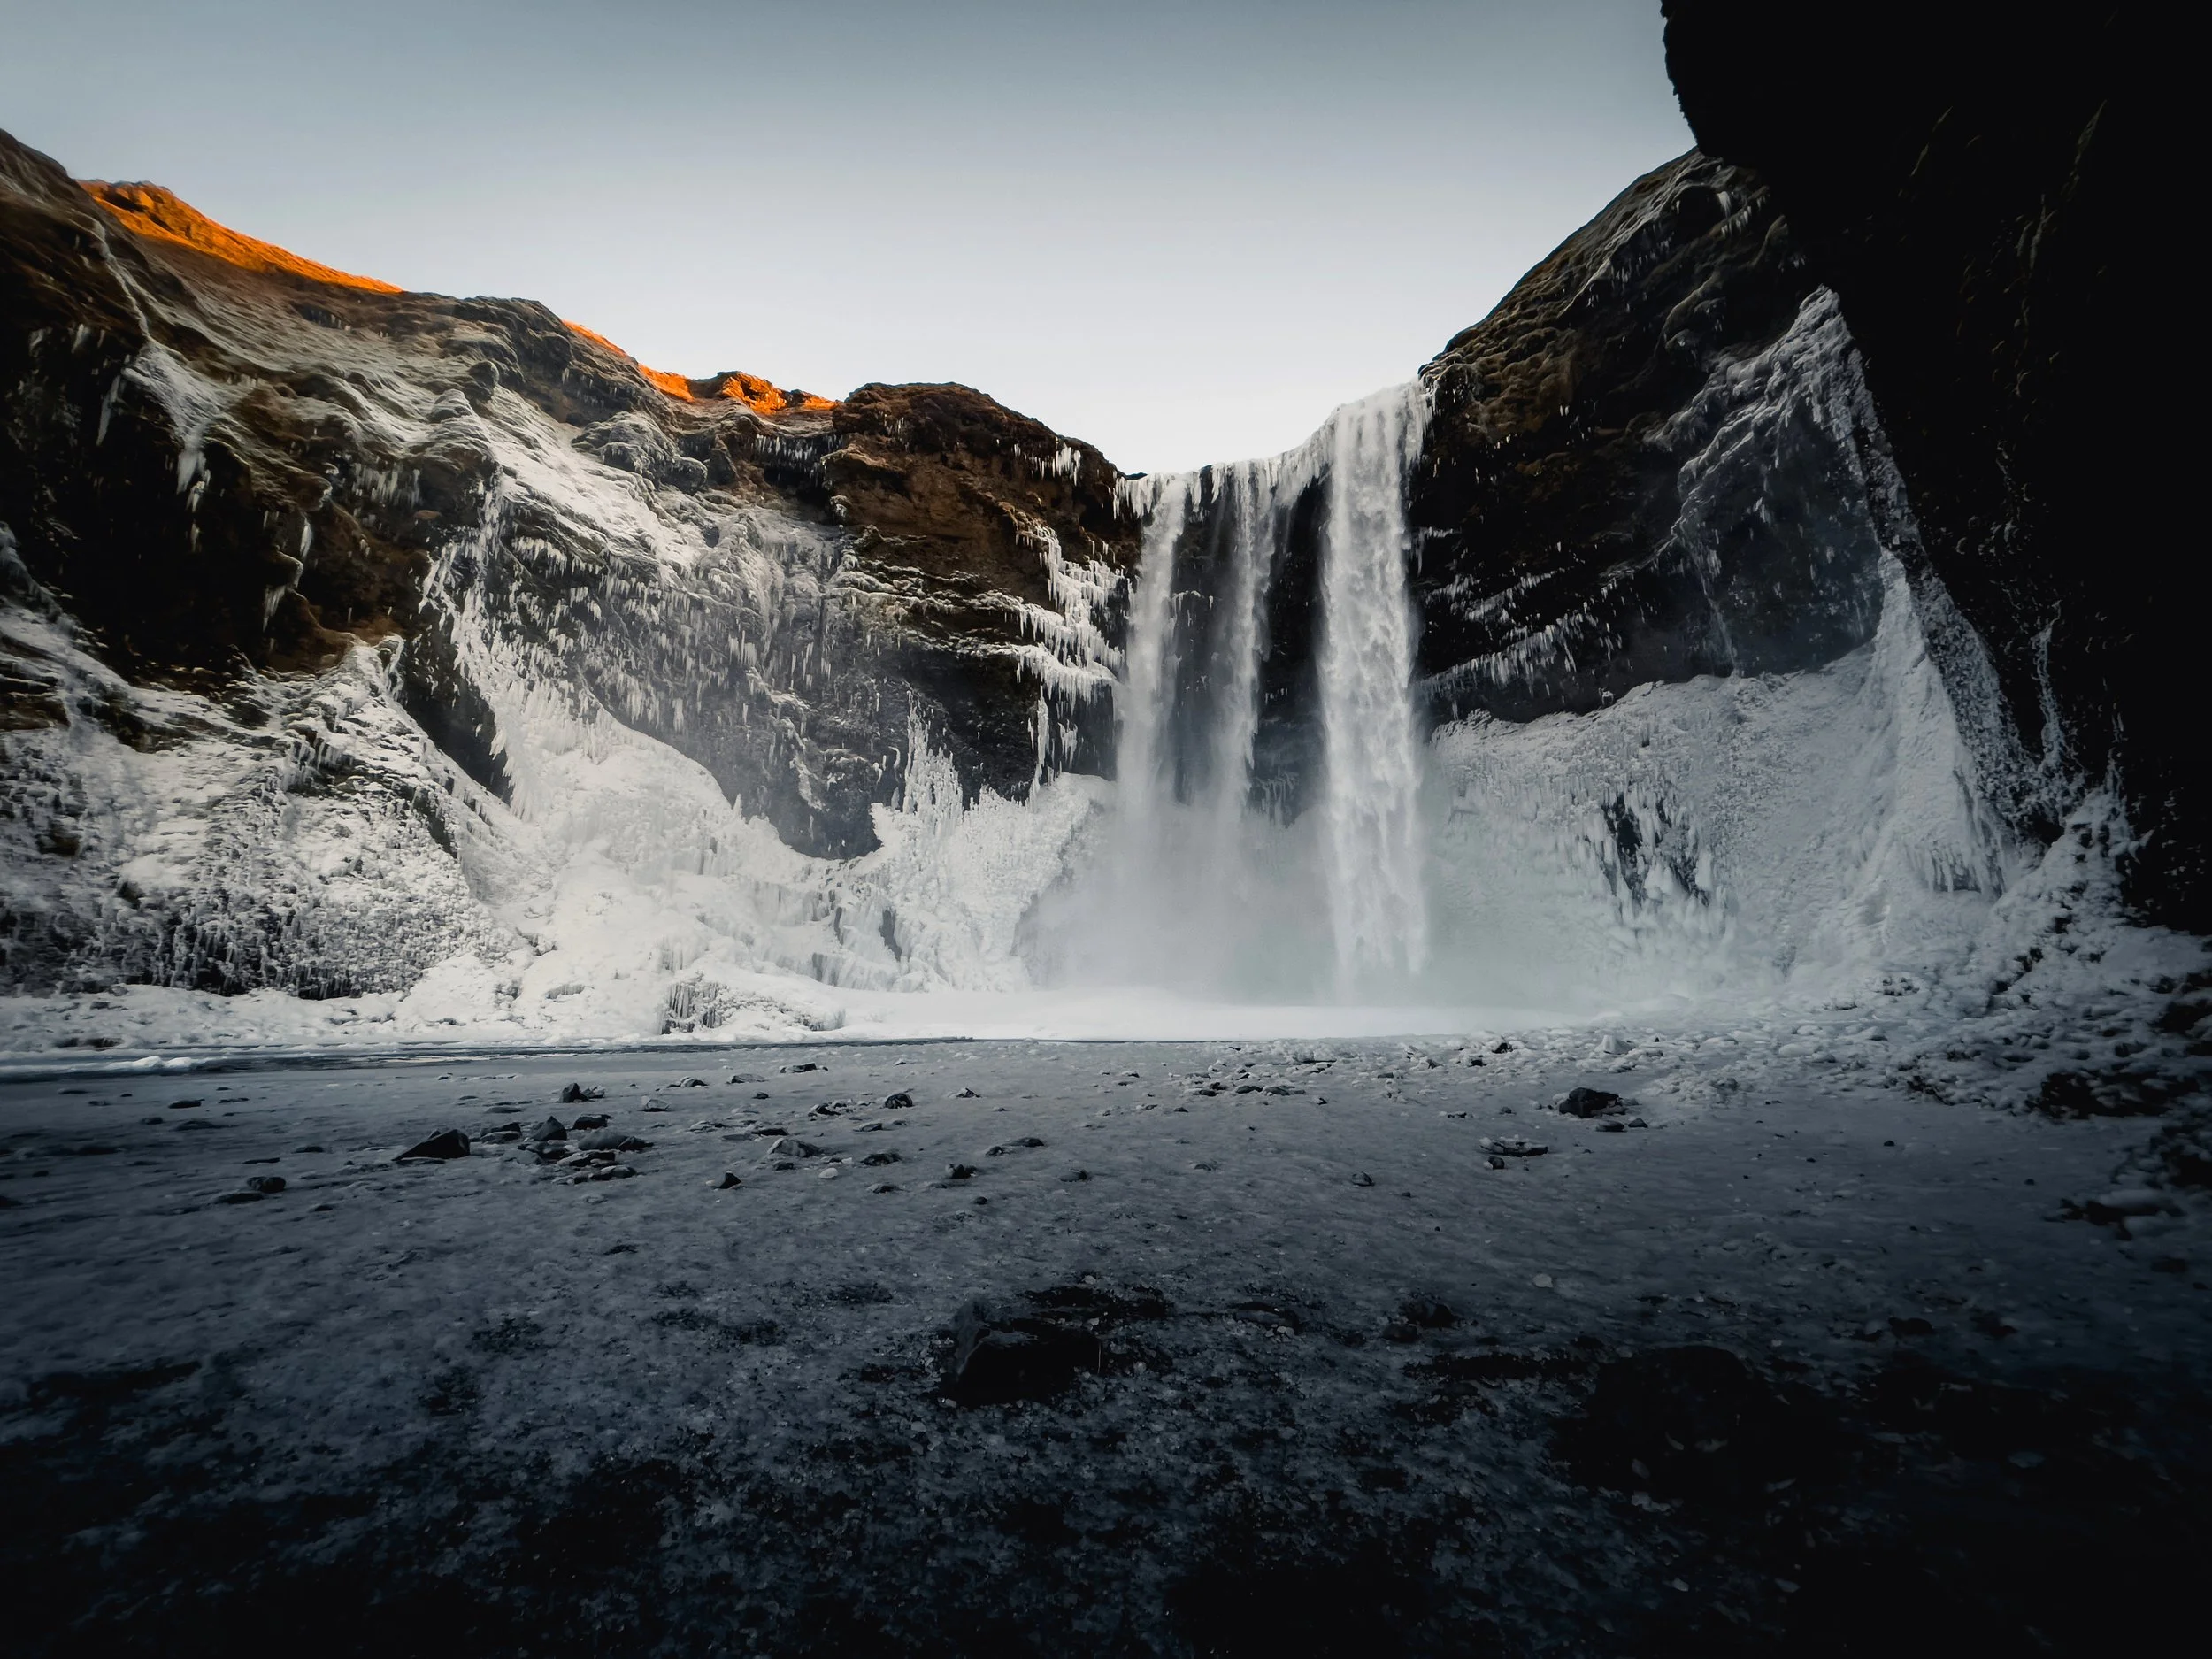
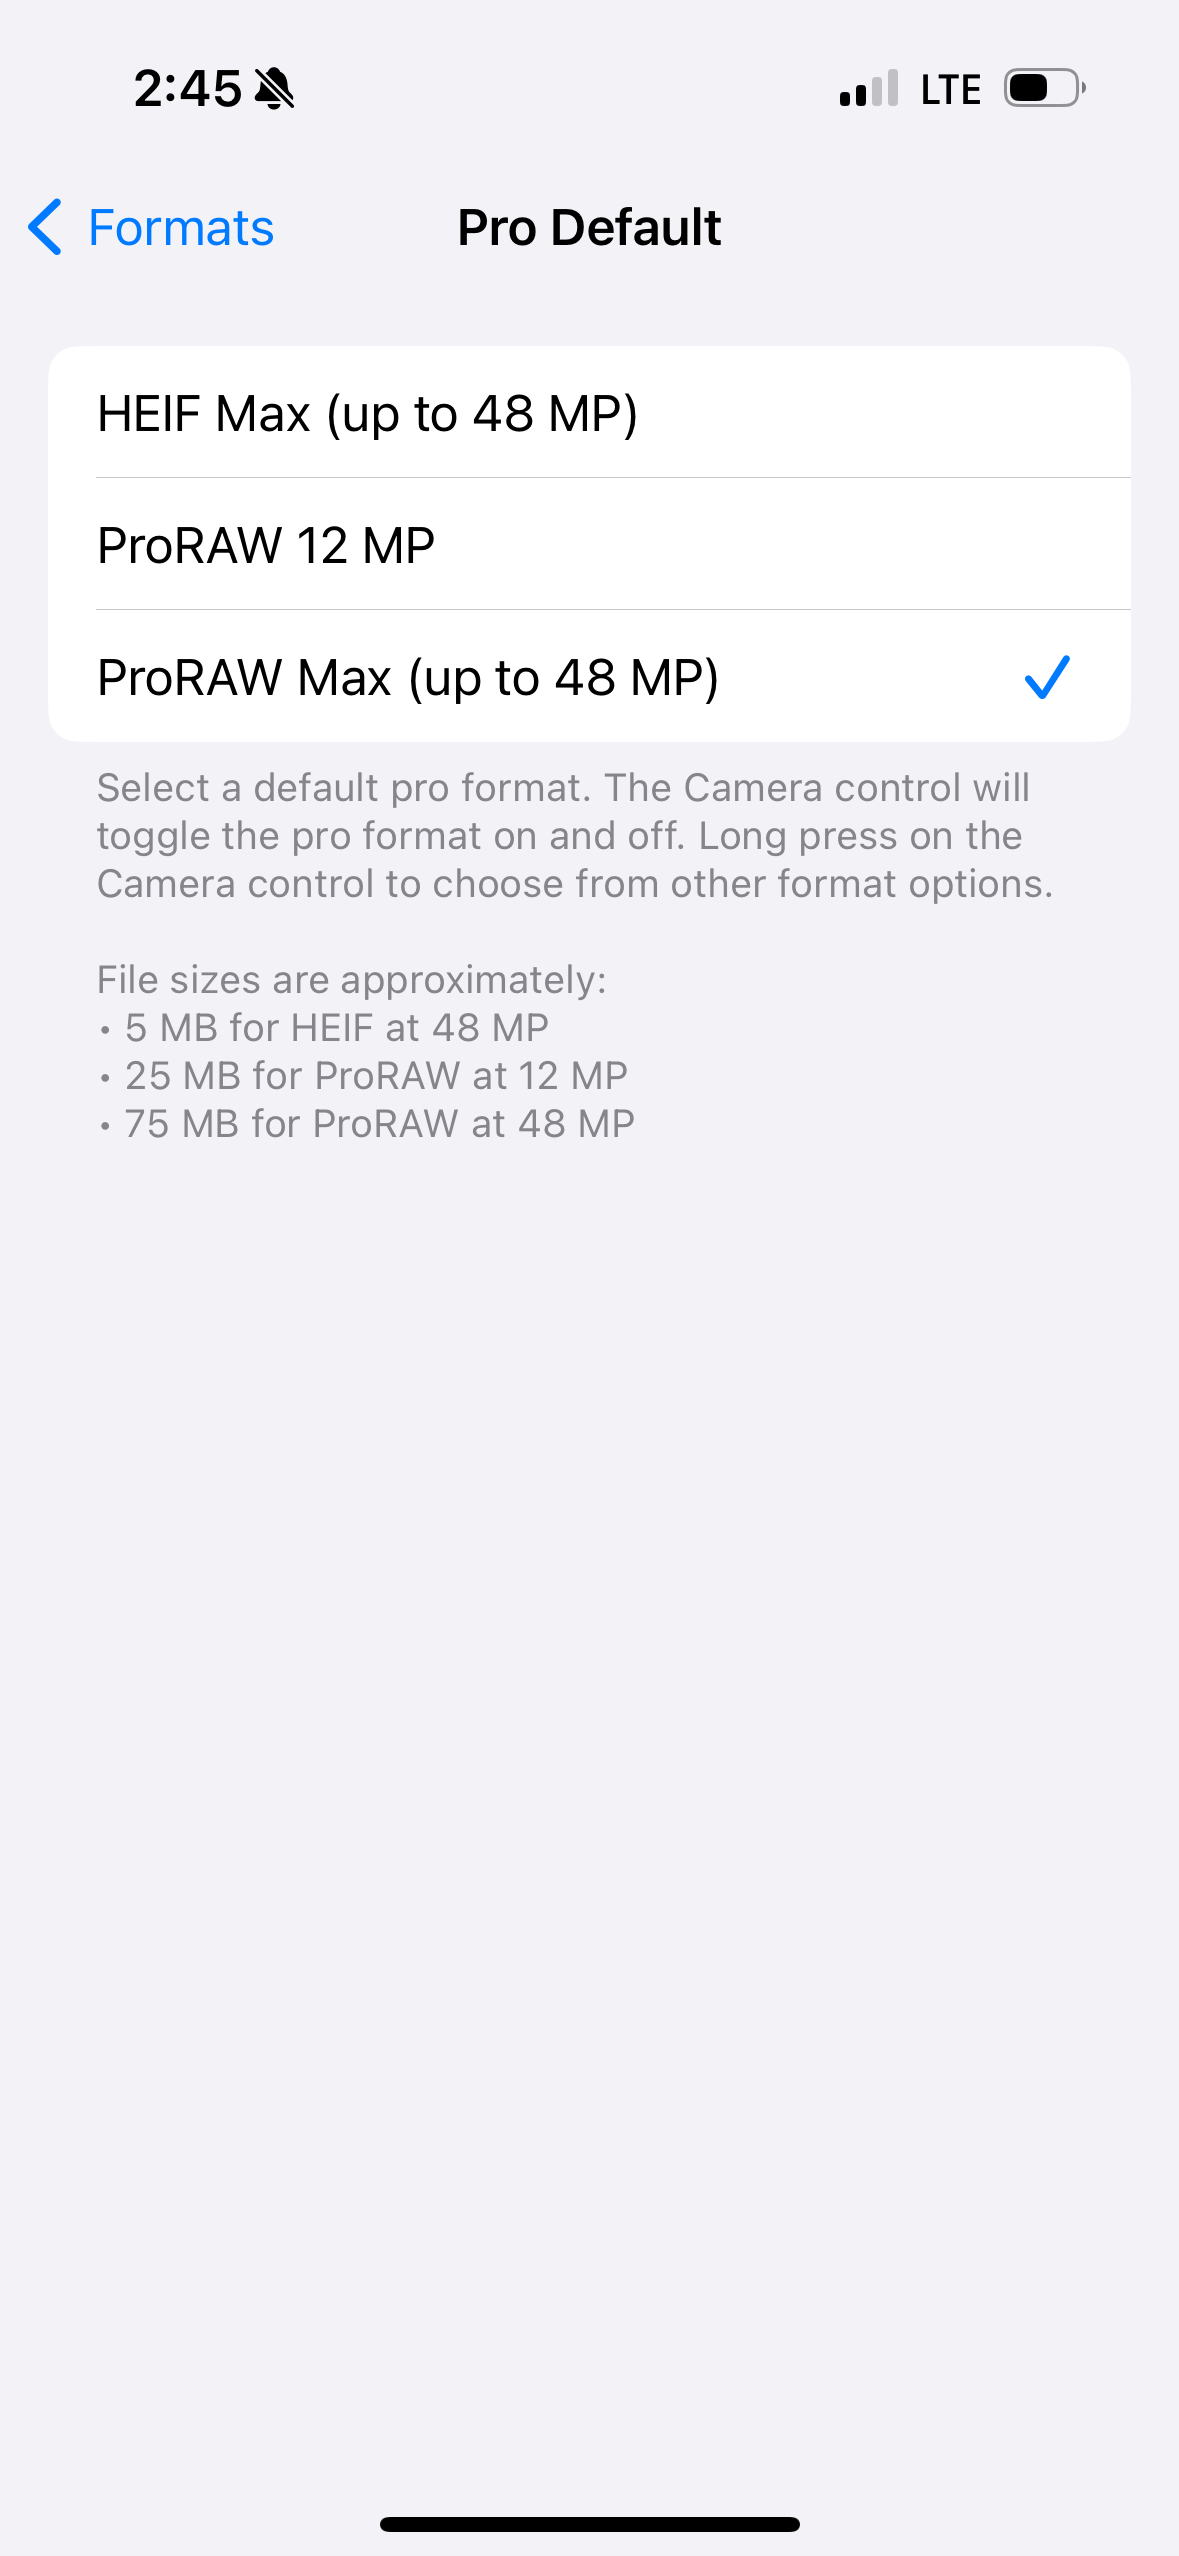
Next, I'll move into the ProRaw settings; this is the base for turning ordinary photos into great ones when you edit them later. TurnProRAW & Resolution Control is on, and in the Pro default settings, I have mine set to ProRAW Max; now, you can argue that this might be overkill and that the file sizes are indeed significant. But when I was in Iceland in the middle of nowhere, hiking on a glacier, the last thing I could care about was file size. All I wanted was the best photo with the most information and pixels I could get. So 75MB for a ProRAW file at 48 MP from a device you carry daily is incredible.
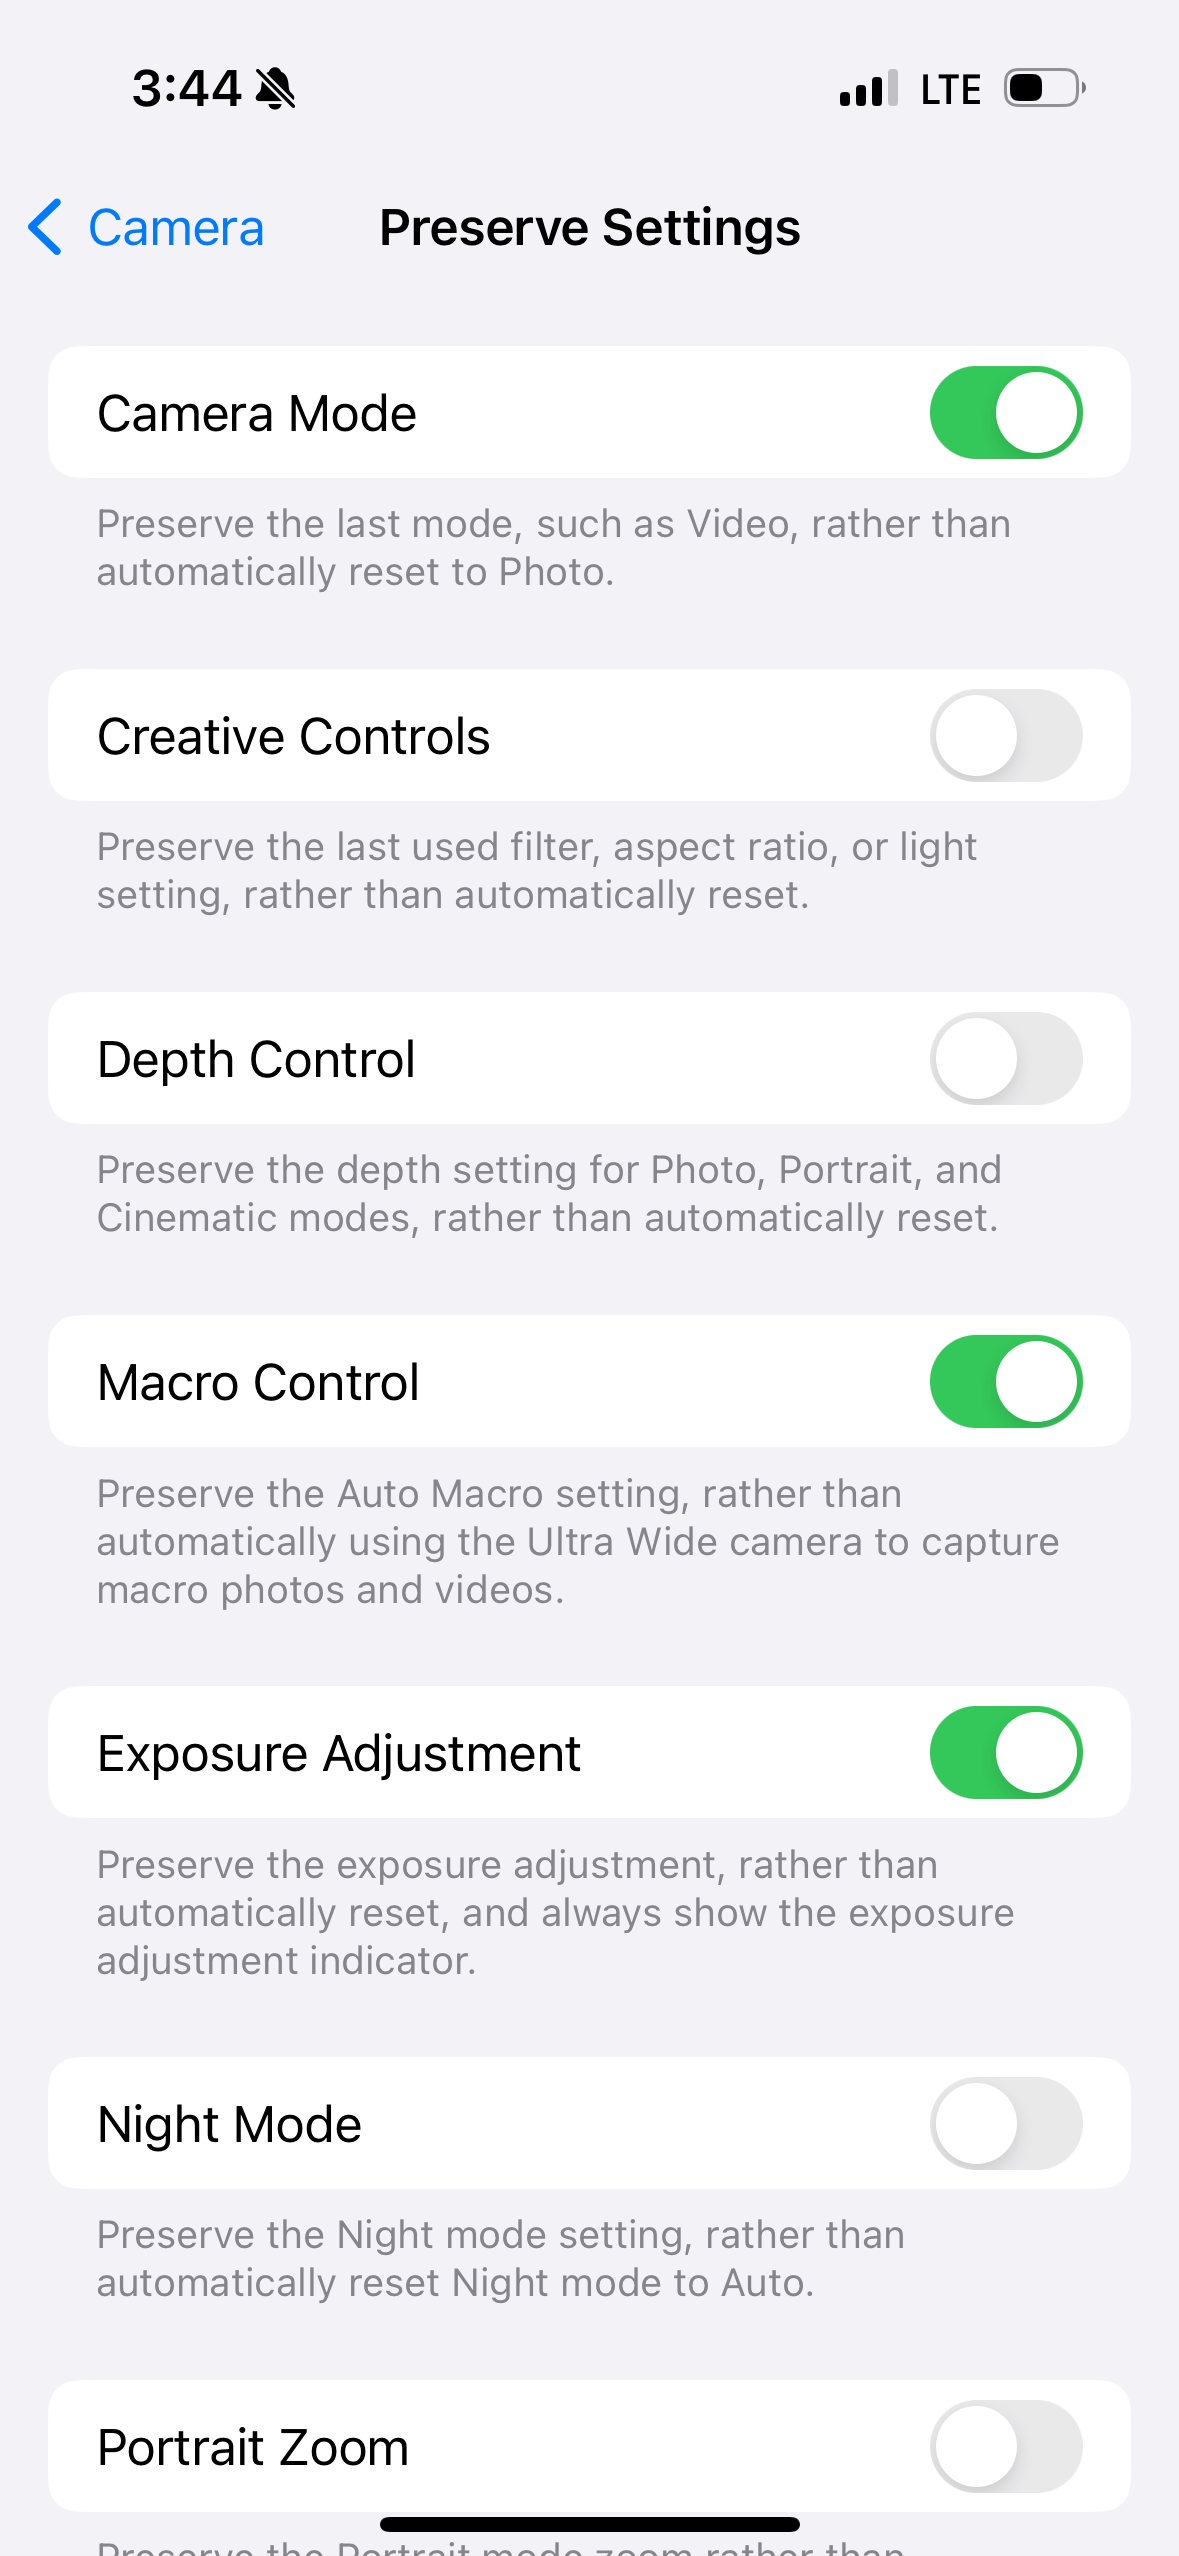
Next, let's quickly review the settings I have turned on in the Preserve settings tab.
Camera Mode
Macro Control
Exposure Adjustment
ProRAW & Resolution Control
Live Photo
This is what I have turned on and everything else I leave off. This page is down to personal preference, so play around with it.

For the Composition settings, I turn on the two listed below
Grid
Level
I turn off the other two mirror front cameras and view outside the frame. But again, I feel like these are personal preferences. Also, regarding the Photographic Styles button, I've never touched it and most likely never will, as I shoot my photos in RAW and edit them later.

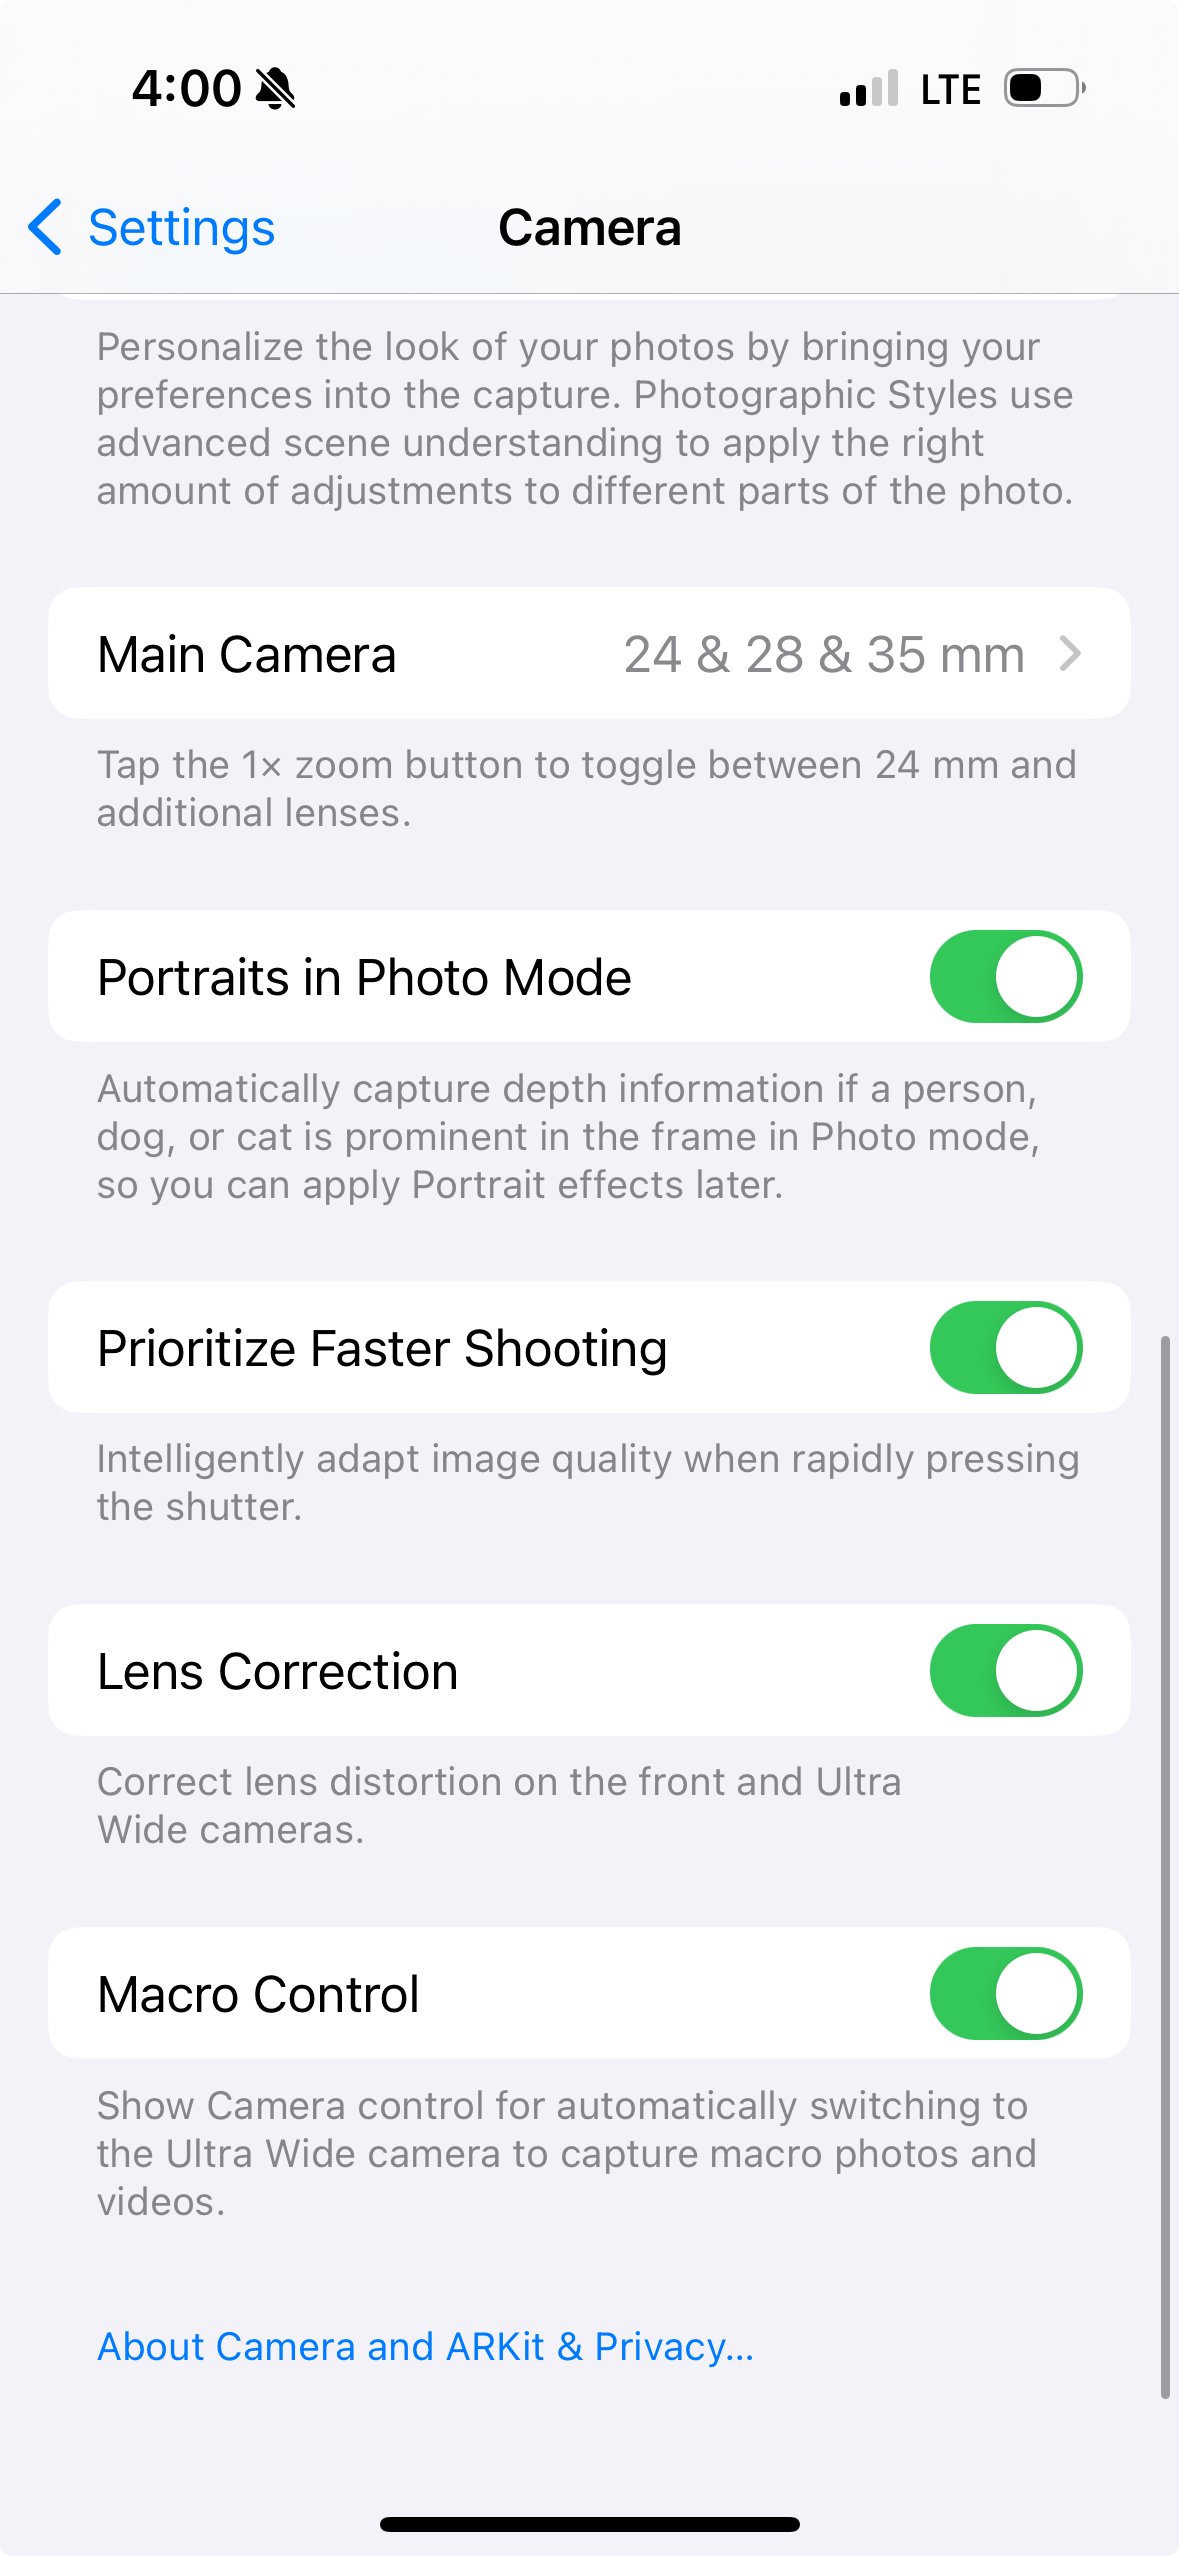
Moving to the last area of the settings page, we can set our default camera (On the iPhone 15 pro only). I have the additional Lenses enabled, and my default camera is set to 1.5x or the 35 MM lens. I shoot many everyday photos at this focal length, so it's nice that the iPhone has this option.

Taking the photo
Now that the settings are out of the way, it's time to take the photos and get to the fun bit. I personally like dark shadows and moodier photos, so usually, what I will do is stop down. This is easy enough to do on the iPhone by simply tapping on the highlights and dragging your finger down on the sun icon that shows up.

If you want to lock that exposure and focus, all you have to do is hold on the screen until you see the square bounce; you should see AE/AF LOCK at the top of the screen now, and that means the exposure and the focus are locked, but you can still move the sun icon up or down to get it perfect.

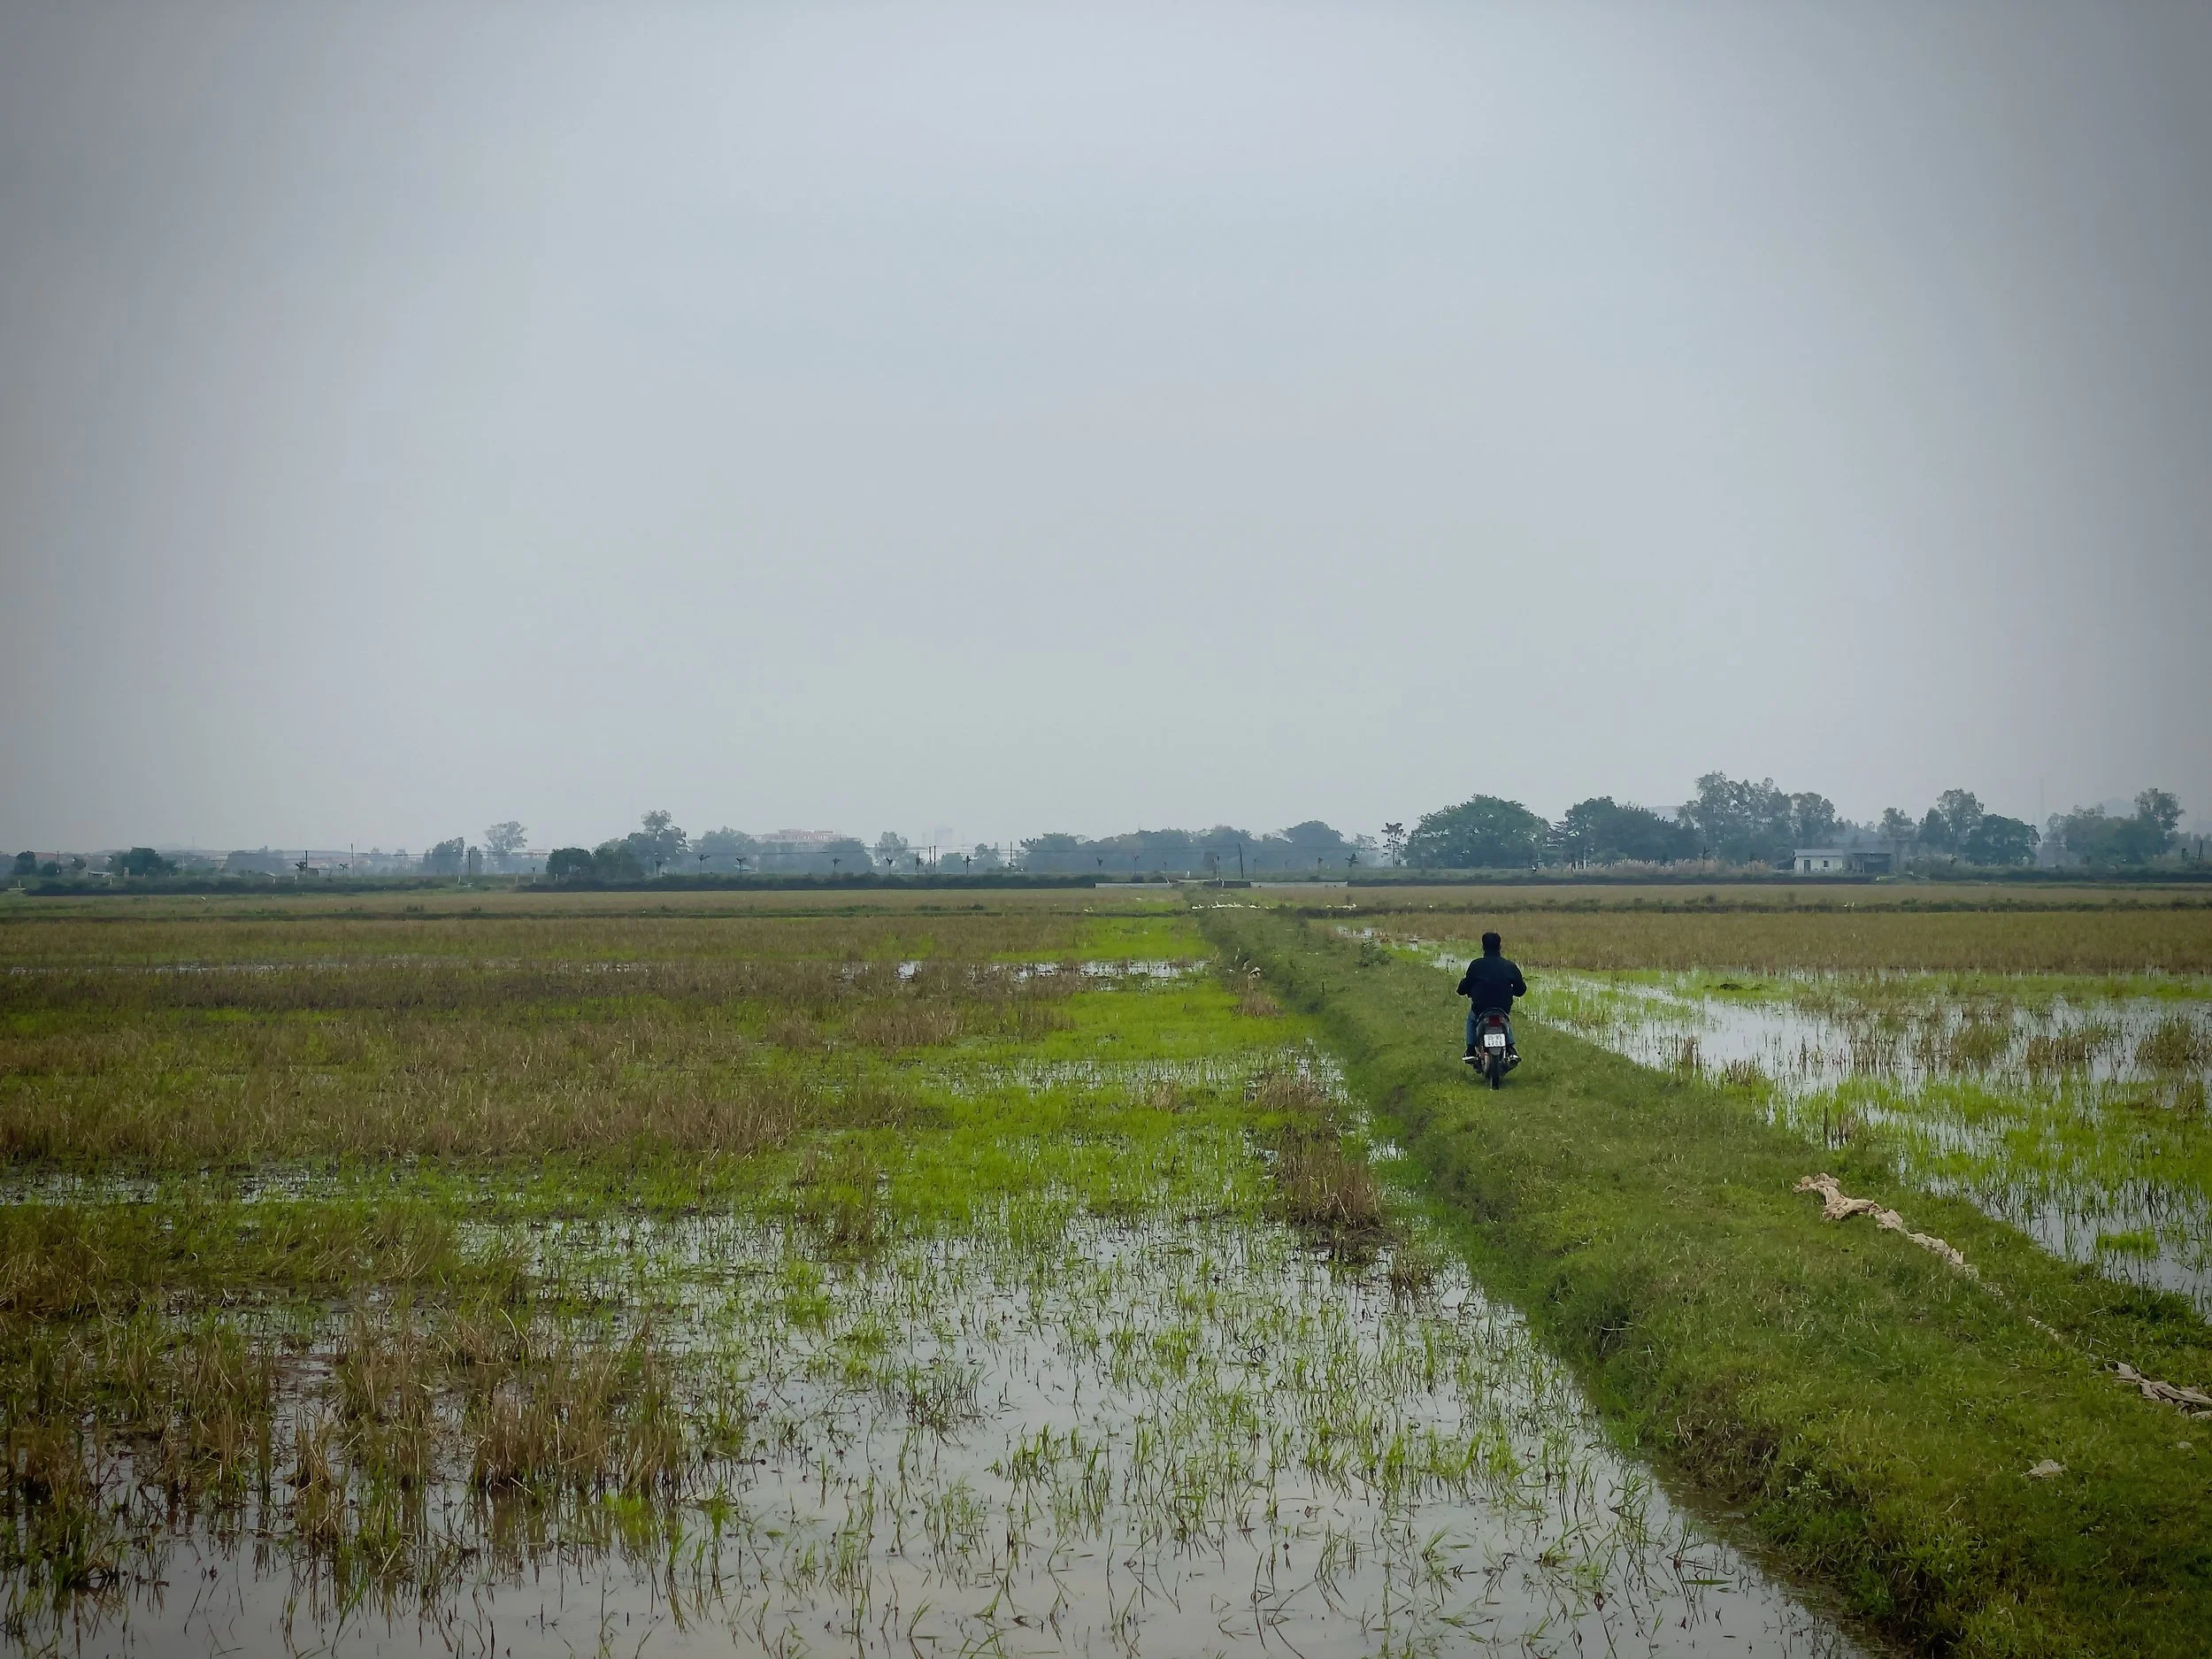
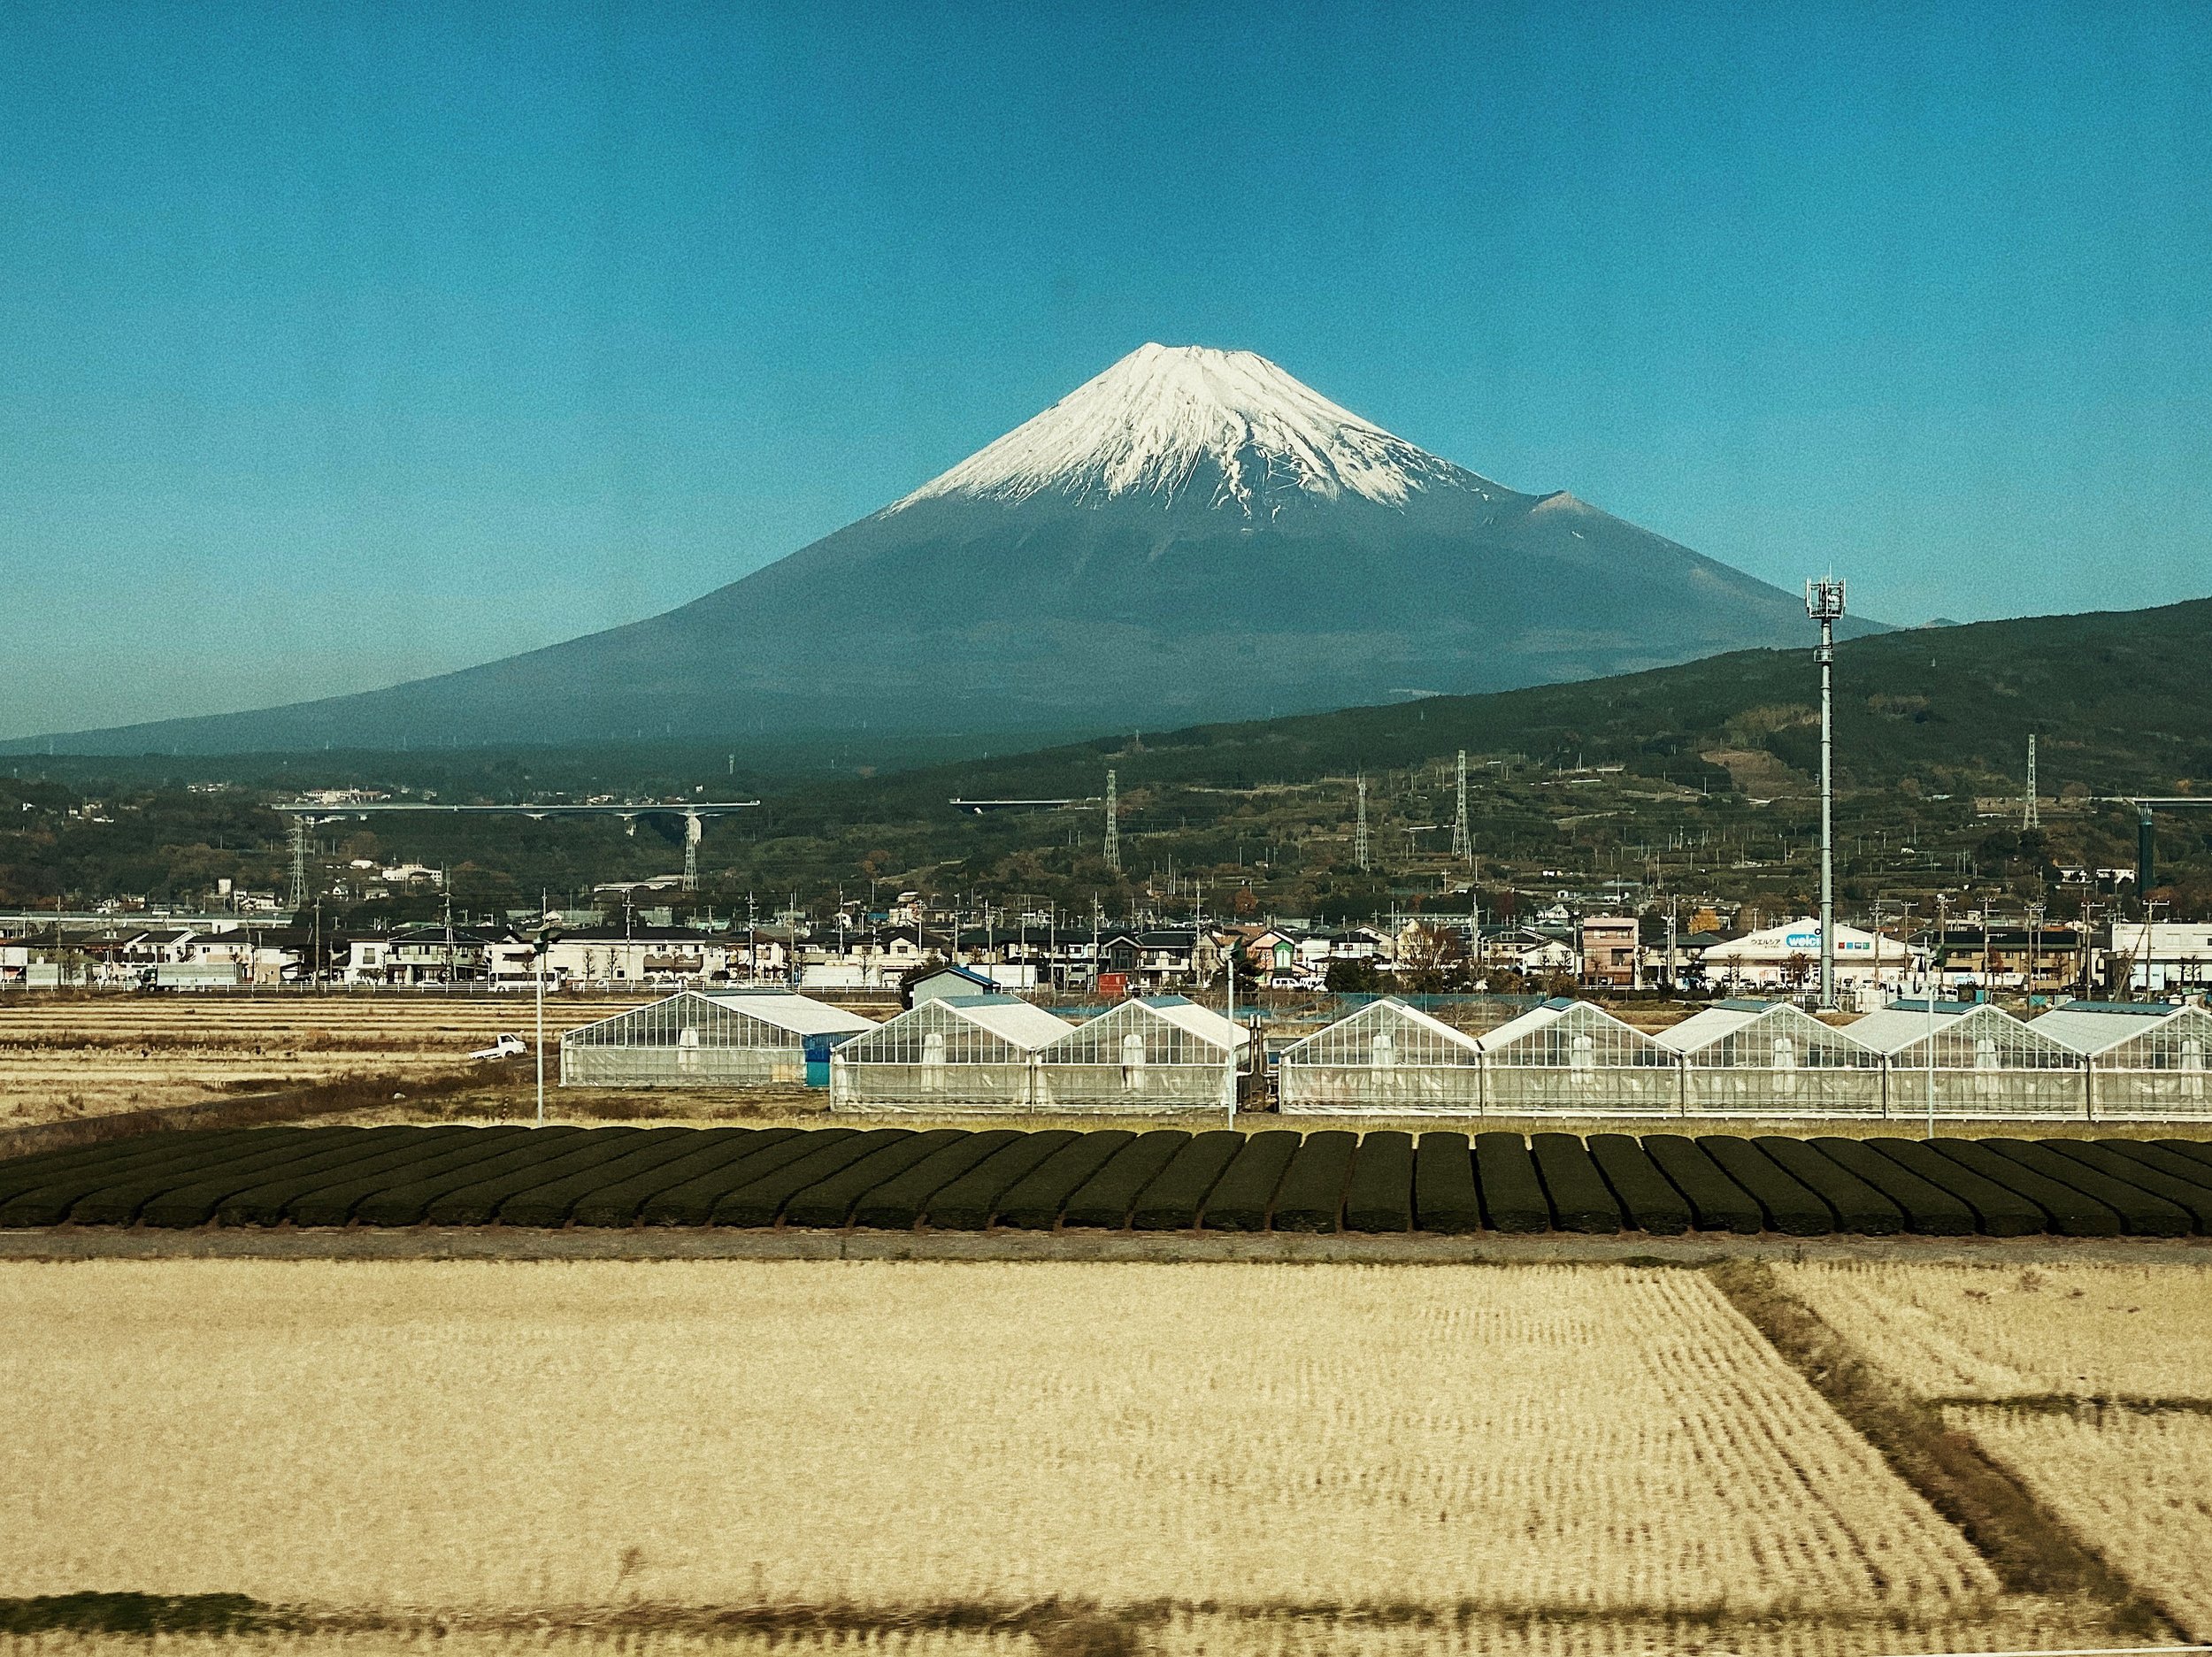
Taking photos with just your phone is rewarding when you see some of the results it can produce. I hope this short write-up can be helpful, and if you have any questions, reach out to me here or on my Instagram. Below, I will post a few of my favorites I've taken over the years on my iPhone.